Cold Email Generator
Last updated: November 18, 2024
Welcome to the Cold Email Generator guide. This tool assists you in crafting persuasive cold emails to initiate contact with potential clients or partners, leveraging AI Magicx's advanced capabilities to enhance your outreach efforts and increase positive responses.
What is a Cold Email Generator?
A Cold Email Generator is a tool designed to help you create persuasive emails that effectively initiate contact with potential clients or partners. By specifying the desired outcome, tone, and level of creativity, the generator ensures that your emails resonate well with recipients and encourage positive responses. AI Magicx Cold Email Generator streamlines the email creation process, saving you time and improving the effectiveness of your outreach campaigns.
Step-by-Step Guide
Follow these steps to create effective cold emails using AI Magicx Cold Email Generator:
Step 1: Login to Your Account
- Access AI Magicx Website:
- Open your web browser and navigate to the AI Magicx website.

- Open your web browser and navigate to the AI Magicx website.
- Sign In:
- Click on the Sign In button located at the top-right corner of the homepage.
- Enter your registered email address and password, then click Login.
- If you don’t have an account, click on Sign Up to create a new account.
Step 2: Access the Cold Email Generator
- Navigate to the Dashboard:
- After logging in, you will be directed to the AI Magicx Dashboard.

- After logging in, you will be directed to the AI Magicx Dashboard.
- Find the AI Library:
- On the Dashboard, locate and click on the AI Library option.
- Select Cold Email Generator:

- In the left toolbar, navigate to General Writing.
- Click on Cold Email Generator to open the tool interface.
Step 3: Enter Company or Product Details
- Company or Product Name:

- In the Company or Product Name field, type the name of your company or product.
- Example: "EcoCharge Solar Solutions" or "NovaTech Software."
- Company or Product Description:

- Provide a short description in the Company or Product Description field.
- Example: "Providing the best AI writing and image solutions."
Step 4: Specify the Desired Email Outcome
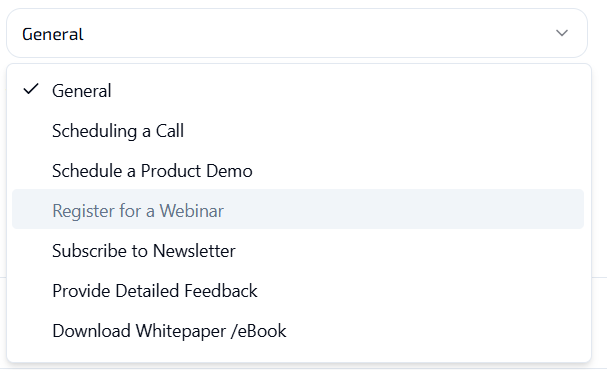
- Desired Email Outcome:

- Choose the outcome you want from the email from the available options in the tool.
- This could include goals such as scheduling a meeting, requesting a partnership, or introducing your services.
Step 5: Select Tone of Voice
- Tone of Voice:

- Choose the desired tone of voice for your email from the drop-down menu.
- Available options include:
- Professional: Suitable for formal communications.
- Friendly: Ideal for approachable and warm interactions.
- Persuasive: Perfect for convincing and motivating the recipient.
- Selecting the appropriate tone ensures that the email aligns with your communication style and resonates with the target audience.
Step 6: Choose Language and Creativity Level
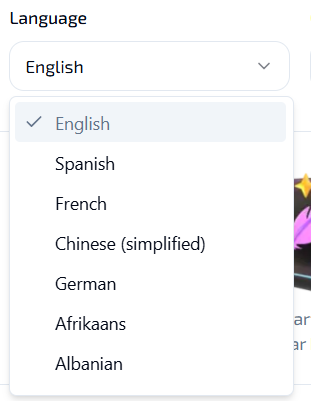
- Language:

- Select your preferred language for the email from the Language dropdown menu.
- Example: English.
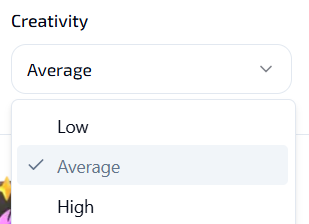
- Creativity Level:

- Set the creativity level to control the extent of variation in the email content:
- Low: Minimal changes, maintaining a close match to the original text.
- Average: Balanced rewrite with some variation for enhanced readability.
- High: Highly creative and unique rephrasing for standout content.
- Set the creativity level to control the extent of variation in the email content:
Step 7: Generate the Email
- Generate Email:

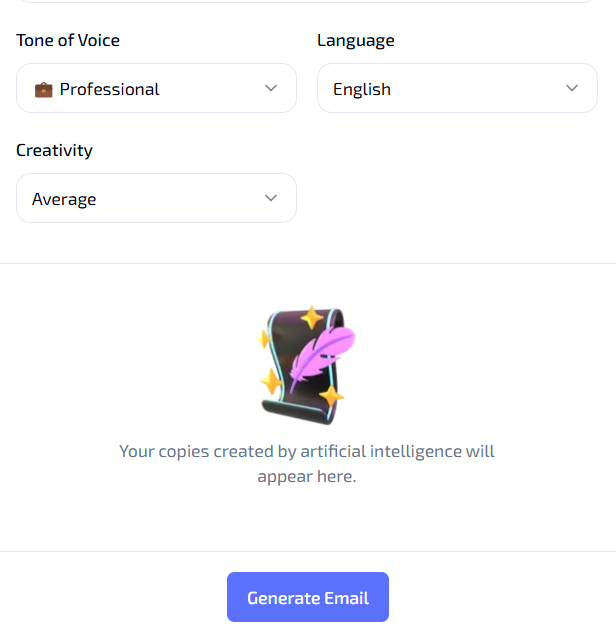
- Once all the settings are configured, click on the Generate Email button.
- The tool will process your input and produce an email copy based on your specified settings.
- Review the generated email and make any necessary adjustments to ensure it meets your outreach goals.
- Copy the email text for use in your email campaigns or integrate it directly into your email marketing tool.
Additional Resources
- Tutorial Video: Watch the Tutorial
Last updated on 2024-11-18
